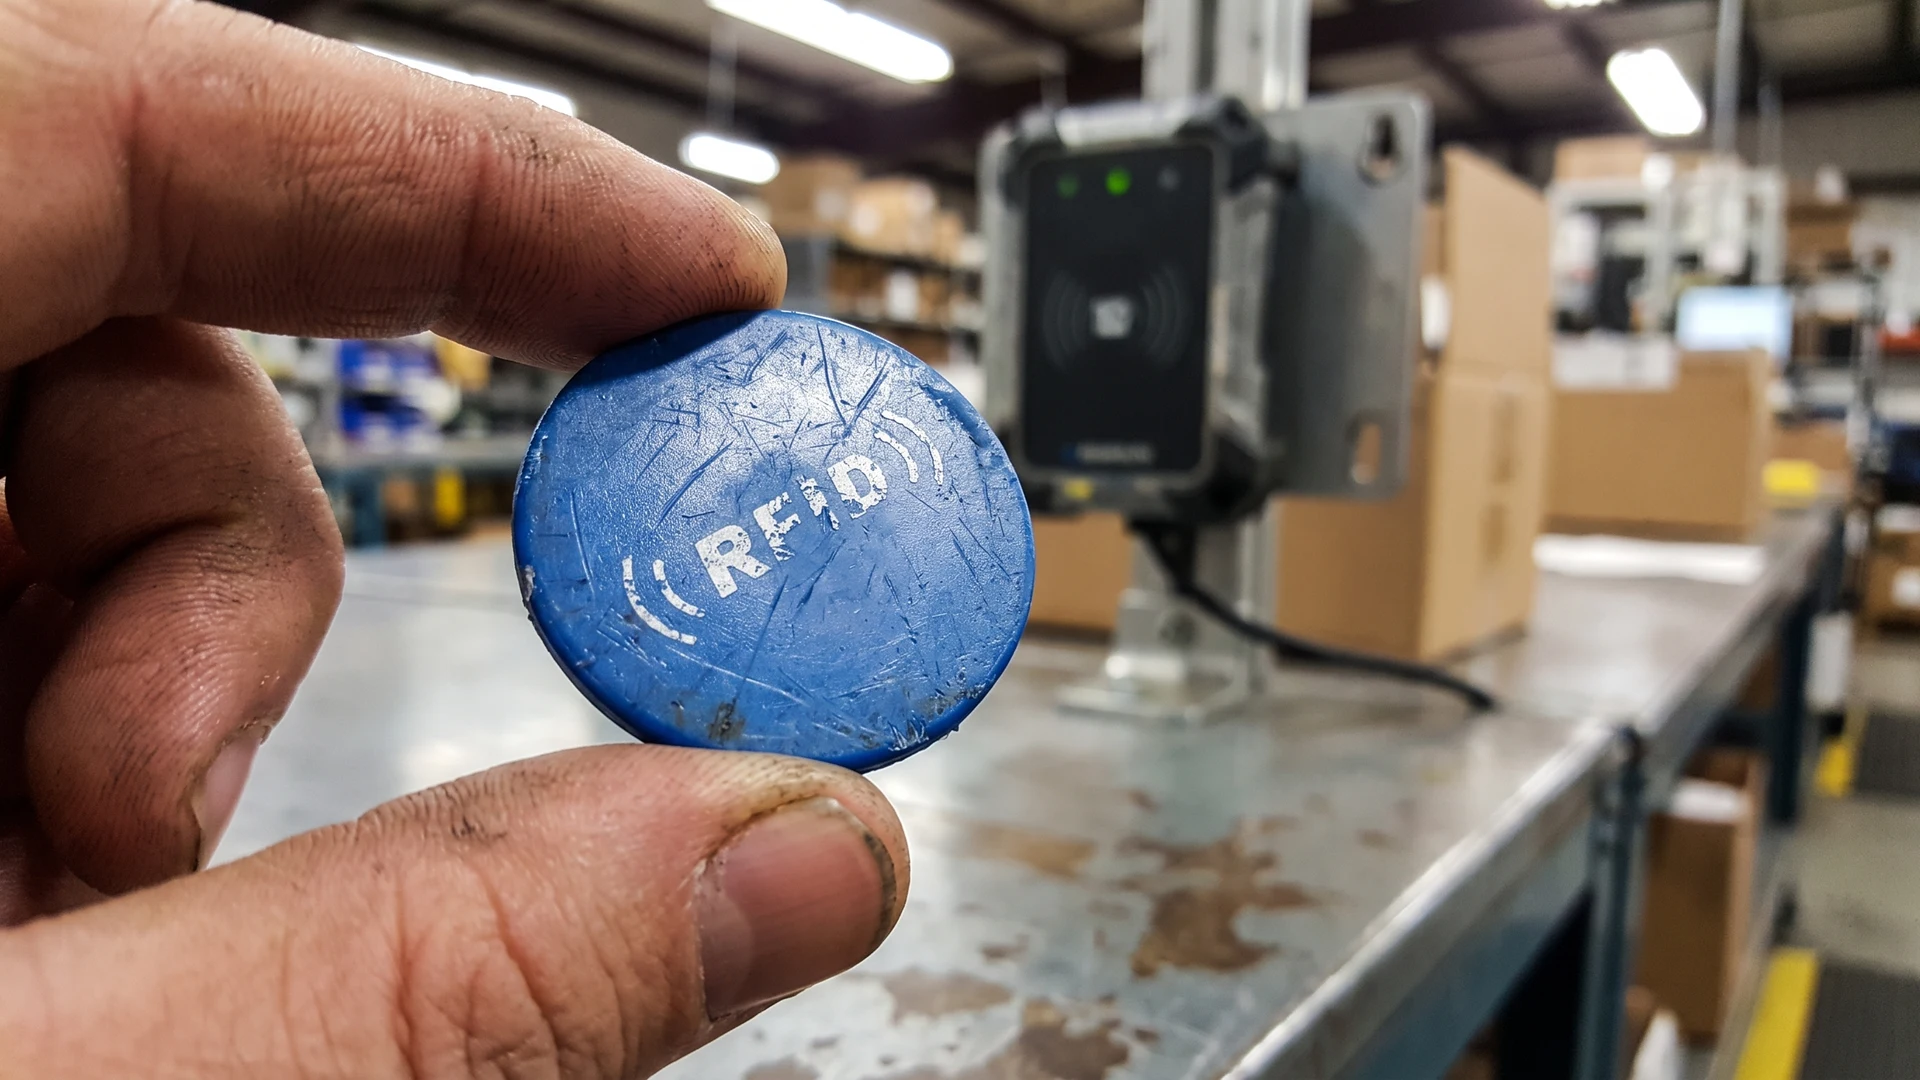
Understanding branding durability on tokens
Physical durability holds just as much importance as the underlying digital reliability of the token when you deploy a new system. Fading or wearing branding disrupts daily operations, especially when your staff relies on visual identification alongside system data. Establishing the correct physical specifications early in your project prevents readability issues from causing unnecessary bottlenecks. Your team can maintain a smooth workflow by ensuring that the chosen branding method withstands the specific rigors of your facility.
Evaluating common printing and marking methods
Evaluating the right fit for your physical requirements starts with understanding the mechanical differences between various printing techniques. Each method offers distinct technical capabilities and relies on different physical material properties to bond the visual information to the token. Reviewing how these processes actually function allows your project managers to make an objective decision based purely on environmental suitability. Your team can then match the physical construction of the token directly to the stresses it will encounter in daily use.
Pad printing
Pad printing transfers a two-dimensional image onto three-dimensional components by using a soft silicone pad as an indirect offset carrier, which acts like a flexible stamp. The process begins when an etched metal plate, known as a cliché, fills with ink from a sliding reservoir cup. The silicone pad presses down onto the plate to pick up the ink film before moving over the token and conforming to its curved or textured surface. This method releases the ink onto the target area without distortion, and the printed component cures through air exposure, heat, or ultraviolet light.
Laser marking
Laser marking on plastic functions as a thermal and photochemical process where a focused light beam hits a polymer surface to create a permanent, high-contrast mark. The plastic material or its internal chemical additives absorb the specific laser wavelength, which causes localized heating rather than letting the light pass through. This intense energy can melt the polymer to trap expanding gas bubbles for a raised mark, or it can vaporize the top layer entirely in a process called ablation. Because this method requires no ink or physical contact, it creates a highly resistant visual identifier that integrates directly into the token material.
In mould labelling
In mould labelling, commonly abbreviated as IML, integrates graphics into plastic components by placing a preprinted plastic film label into an open mold cavity before shaping the part. Automated robotic systems insert the cut label precisely into the mold, where vacuum ports or electrostatic charges hold it firmly against the interior wall. When machinery injects hot, molten thermoplastic under high pressure, the heat melts the back of the film and fuses the graphic directly into the component wall. This thermal bonding creates a single, seamless plastic part that requires no secondary labeling and provides excellent resistance against environmental wear.
Identifying environmental wear factors
Anticipating the exact physical stresses your tokens will face enables you to match the printing method directly to your operating environment. Real-world elements degrade token branding over time, and different types of physical or environmental stress attack the materials in unique ways. Identifying these factors early in your evaluation process prevents unexpected failures and extends the functional life of your visual identifiers. You can build a robust technical specification by mapping out the specific hazards present in your unique physical infrastructure.
Mechanical friction and daily handling
Repetitive mechanical friction causes surface-printed markings to fade, blur, and eventually disappear as rubbing wears away the printed ink layer over time. This continuous physical contact breaks the pigment bonds and lowers the contrast between the visual mark and the underlying substrate material. Higher pressure and speed accelerate the rate of ink removal, while softer plastics tend to wear out much faster than hard metals. As the edges of the letters lose sharpness and micro-scratches scatter light across the surface, the printed information eventually becomes impossible for your staff to read.
Chemical exposure and cleaning routines
Chemical cleaning agents and routine sanitation procedures present a significant threat to the durability of ink-based marking methods on polymers. Oils, industrial solvents, and harsh cleaning agents can dissolve or weaken specific types of ink if the chemistry of the mark does not match the polymer resin. When your facility relies on strict hygiene protocols, the frequent application of these chemicals accelerates the breakdown of the visual branding. You must ensure that the chosen printing method possesses the necessary chemical resistance to withstand your exact maintenance routines without losing legibility.
Environmental conditions and light degradation
Ultraviolet radiation from sunlight causes pigment degradation by breaking chemical bonds in the ink molecules through a process known as photo-oxidation, leading to fading and color shifts. Environmental stress also causes micro-cracking in plastic surface markings because external forces and harsh surroundings break the long polymer chains that hold the material together. Moisture, sudden temperature changes, and oxygen accelerate this breakdown, causing the brittle areas of the ink or film to expand and snap. These microscopic splits grow wider and deeper under continuous stress until the marking flakes or splits apart entirely.
How readability impacts your daily operations
Operational consequences emerge quickly when printed numbering or instructions fade, particularly when your staff relies on visual checks alongside digital scans. Unreadable tokens cause immediate bottlenecks because workers must spend extra time attempting to decipher worn text or manually verifying the item through alternative software steps. This friction slows down your entire process flow and introduces a higher margin for human error during busy shifts. Moving the evaluation beyond visual aesthetics to functional necessity ensures that your physical tokens support your digital infrastructure rather than hindering it.
A clear visual identifier serves as a critical fallback mechanism when digital reading hardware experiences temporary issues or network disconnections. If a token loses its physical legibility, your team loses their primary manual verification method, which turns a minor technical glitch into a complete workflow stoppage. Ensuring strong physical durability means your system maintains its operational integrity even under challenging conditions. Your project managers can maintain smooth integration and consistent performance by treating the physical print quality as a core component of the overall system reliability.
Steps to test branding durability internally
Validating durability before a full deployment equips your team with actionable data and builds confidence in your final material specification. Testing these methods internally against your actual use conditions provides a much clearer picture of performance than relying solely on external vendor claims. You can follow a concrete and sequential process to evaluate how different printing methods withstand your specific environmental hazards. This practical approach allows you to document your technical requirements accurately based on observable results.
- Establish a testing baseline: Gather sample tokens representing the different printing methods you plan to evaluate, ensuring they match your intended size and material. Record the initial visual condition of each sample under standard lighting to serve as your control reference point. You should take clear photographs of the numbering and logos before subjecting the tokens to any physical stress. This documentation provides a definitive baseline so your team can objectively measure any degradation that occurs during the testing phase.
- Simulate daily mechanical friction: Subject the sample tokens to the exact physical handling they will experience during a standard operational shift. You can place the tokens in a high-traffic testing container or run them repeatedly through your physical counting and sorting mechanisms. Monitor the samples for micro-scratches, edge fading, or any loss of contrast between the ink and the substrate material. Recording the time it takes for the printed information to degrade helps you determine if the method meets your minimum longevity requirements.
- Apply routine chemical exposure: Submerge or wipe the sample tokens using the specific cleaning agents, solvents, or oils present in your daily maintenance routines. Apply the chemicals at the same concentration and frequency that your sanitation staff uses to maintain facility hygiene. Observe whether the ink dissolves, smears, or loses its adhesion to the underlying polymer surface after repeated exposure. This step verifies that your chosen marking method possesses the chemical resistance necessary to survive your mandatory cleaning protocols.
- Examine environmental and light degradation: Place the samples in locations that replicate the maximum ultraviolet light exposure and temperature fluctuations present in your facility. Leave the tokens exposed to direct sunlight or industrial heat sources to accelerate the photo-oxidation and micro-cracking processes. Check the physical surface for color shifts, brittleness, or tiny splits in the ink layer that indicate long-term environmental failure. Gathering this data ensures that your tokens will remain legible even if they operate outdoors or in harsh climatic conditions.
Specifying the right method for your token deployment
Taking the evaluation data from your internal testing allows you to define clear material and printing specifications for your entire project. As a neutral educational resource, RFID & NFC encourages you to document these precise technical requirements to ensure your implementation phase proceeds smoothly. Your implementation lead can confidently finalize their decision by matching the proven physical capabilities of the token to the operational demands of the facility. If you have general inquiries during this process, you can reach out to contact@rfidandnfc.com for further objective guidance.
Which marking method lasts longest on plastic tokens?
Laser marking changes the plastic surface, so you get permanence and chemical resistance. In-mold labeling (IML) embeds a printed film into the part, placing ink behind a protective layer that resists scratching. Pad printing puts ink on top, which wears faster unless ink, pretreatment, and curing match the polymer.
What in-house wear tests can we run to predict readability?
Run three quick checks. First, a rub test: use the same cloth or eraser, a set pressure, and counted strokes, then measure contrast loss. Second, a tumble test with tokens and media to simulate pocket wear. Third, repeated drop and slide across your real counter surfaces.
How should we specify durability requirements to a supplier?
Give your supplier a brief. Specify plastic grade, surface texture, and any mold release agents, which are chemicals used to ease part ejection. Describe exposure such as friction points, ultraviolet light, cleaners, and heat. Set pass criteria for contrast, an adhesion test using tape, and barcode legibility, then approve samples.
What causes fading or peeling on plastic tokens?
Fading stems from ultraviolet light breaking pigment chemistry, and peeling follows weak bonding on low surface energy plastics where liquids do not spread. Raise surface energy with corona or plasma treatment, an electrical process that makes inks stick. Use primers and compatible inks, or place print behind a film.
How should we test resistance to cleaners and chemicals?
Cleaners change results fast. Oils and solvents soften or dissolve some inks, and strong detergents strip contrast. Test with your actual agents using swab, wipe, and short soak methods, then rinse and inspect for color shift or edge loss. Laser marks often endure, while IML shields ink under its film.