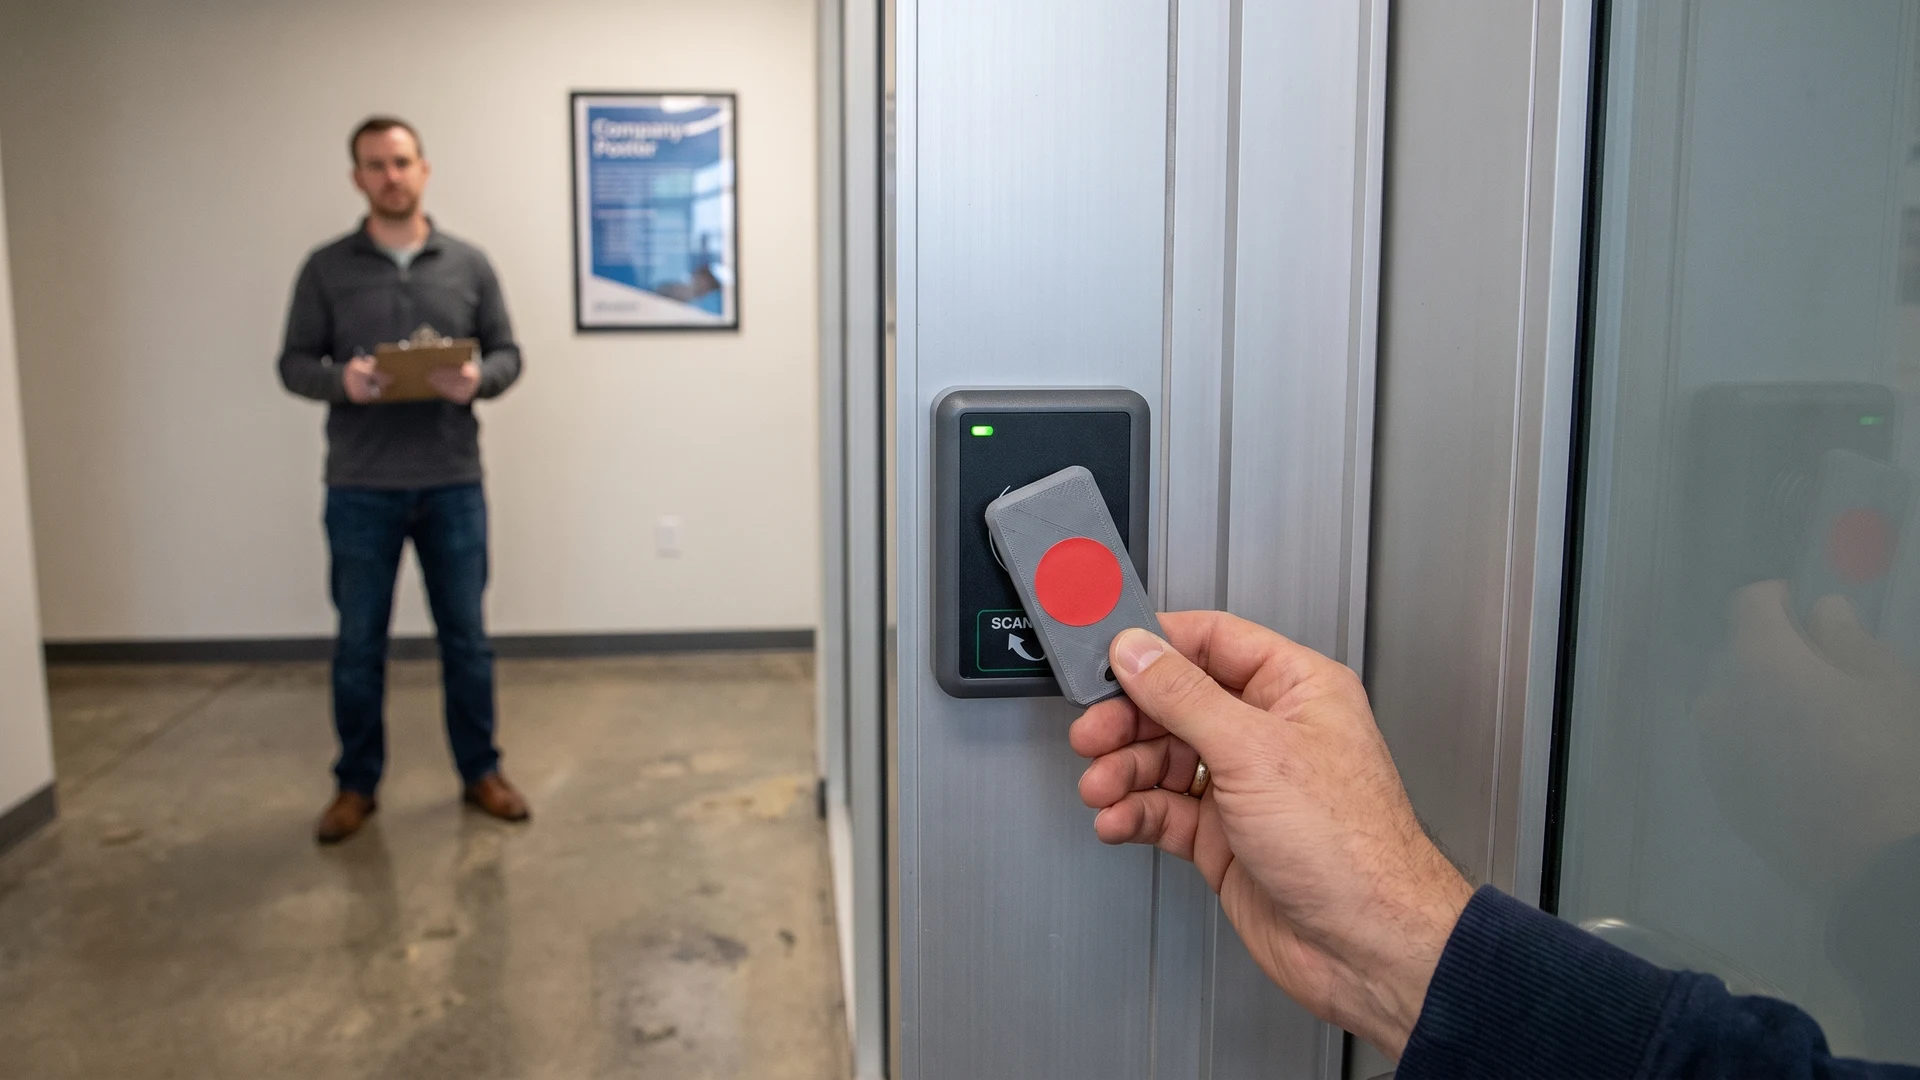
Why you should test your branded tokens before a full rollout
Conducting a small trial with prototype tokens gives your project team the data they need to prevent costly operational disruptions during a large rollout. When you test a small batch of tokens first, you can observe exactly how users handle the physical item and whether it scans reliably on your existing readers. This early feedback loop highlights hidden design flaws and software mismatches that look fine on paper but fail in a live environment. Securing this practical validation ensures your final production order will perform exactly as you intend, which protects your budget and timelines.
How to create simple token prototypes for early trials
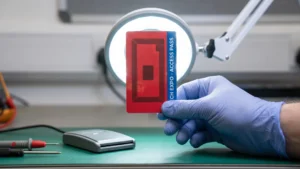
To start gathering user data quickly, you can produce affordable and testable physical tokens without committing to expensive tooling or large manufacturing minimums. Building these early tokens allows your team to test the core interaction between the user and the hardware before you finalise the form factor. You can assemble these functional prototypes using basic materials and accessible programming tools that do not require deep technical expertise. Creating this physical touchpoint bridges the gap between theoretical specifications and real-world performance.
Selecting baseline materials for testing
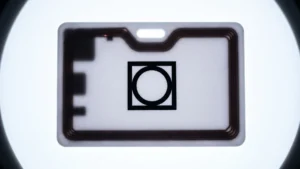
When you select materials for your early tokens, you must choose options that allow radio waves to pass through freely without blocking the signal. Non-conductive and non-magnetic materials like standard 3D printing plastics, acrylics, and wood are fully compatible with radio signals because they do not shield the internal antenna. Conversely, you must avoid using carbon fibre or thick metals in your early prototypes, as these materials reflect electromagnetic fields and will completely block the reader from detecting the token. If your final design absolutely requires a metal enclosure, your prototype must incorporate specialised anti-metal tags that include a protective ferrite isolation layer.
Applying temporary branding and visuals
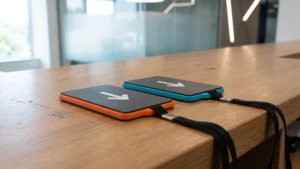
Applying basic temporary graphics to your prototype tokens helps you understand how visual cues guide the user during the scanning process. You can use simple vinyl stickers, digital prints, or laser-etched acrylic layers to replicate the final visual design without investing in permanent molding. Testing these early visual markers reveals whether users instinctively know which side of the token to tap against the reader. These affordable branding methods allow you to iterate rapidly on the design based on real user feedback before you lock in the final aesthetic.
Programming basic functionality for the trial
Once you have assembled the physical token casing, you need to program the internal microchip using standard formats like the Near Field Communication Data Exchange Format (NDEF). You can encode these basic NDEF messages onto your chips using accessible tools like a USB desktop reader or even a standard smartphone equipped with an encoding application. Writing a simple text record or a web link to the prototype token gives you a functional test unit that triggers a visible action when scanned. This basic programmed functionality proves that your hardware and software systems can communicate successfully before you build out complex database integrations.
Steps to run a controlled token usability test with your staff
Running a controlled usability test with your internal staff provides a safe environment to evaluate how the new tokens handle in daily operations. This structured internal trial helps your team catch obvious physical and technical friction points before you expose the technology to your end users. By following a concrete sequence of implementation steps, you can gather objective data while mitigating the risk of widespread system failures. Testing internally first ensures that your project leads understand the baseline performance of the hardware.
- Define the test scenarios: You must outline the exact tasks you want your staff to perform, such as accessing a secure door or processing a test payment. Creating these specific scenarios ensures that every tester interacts with the token under the exact same conditions, which makes your resulting data much more reliable. Your team should map out both standard use cases and edge cases to see how the token performs when used incorrectly. This structured approach prevents testers from simply waving the token aimlessly and provides a clear baseline for success.
- Distribute tokens and tracking sheets: Hand out the prototype tokens to a diverse group of employees who represent different physical abilities and technical comfort levels. You should provide each participant with a digital or physical tracking sheet so they can log their immediate reactions after every single scan attempt. Asking your staff to record the exact moment a scan fails helps you pinpoint whether the issue stems from the hardware or the user’s physical technique. This immediate documentation captures the raw user experience before the tester forgets the specific details of the interaction.
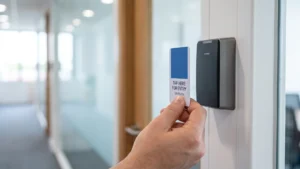
- Monitor the live interactions: Your project leads should physically observe a portion of the test sessions to watch how staff naturally hold and present the tokens. This direct observation often reveals ergonomic awkwardness or hesitation that an employee might not think to write down on their feedback sheet. Watching the interaction unfold in real time allows you to see if the user struggles to find the correct scanning zone on the reader. These visual insights give you a deeper understanding of the physical friction points that your design must ultimately solve.
Common physical and visual usability issues to look for
When your team evaluates the token prototypes, you need to watch closely for physical handling issues that degrade the user experience. A primary ergonomic flaw occurs when diminutive form factors lack sufficient grip, causing users to drop the tokens or struggle to position them correctly against the reader. You might also observe that users naturally hold the token in a way that blocks the internal antenna with their fingers, which drastically reduces the signal strength and causes a failed read. Identifying these physical barriers early allows you to adjust the token dimensions and textures so that they fit naturally and comfortably in the human hand.
Visual orientation feedback plays an equally critical role in ensuring that users can interact with your contactless tokens seamlessly. Because this technology operates without physical insertion slots, users rely entirely on external visual cues to align their token with the active reading zone. If your tokens lack clear visual markers, you will likely see users waving the devices blindly, which leads to high transaction abandonment rates and severe frustration. Adding targeted graphics or directional arrows to your tokens eliminates this mental guesswork and guides the user toward a successful and immediate connection.
Rolling out your token test to a limited user group
Transitioning from an internal staff trial to a small real-world pilot requires careful planning to protect your broader user base from operational disruption. You should select a distinct and forgiving subset of your audience, such as beta-testers or frequent customers who are willing to navigate minor technical hiccups. By isolating the trial to one specific physical location or a single department, you contain any potential issues without impacting your primary business operations. This controlled environment allows your technical decision-makers to monitor live system performance while maintaining the ability to revert to the legacy process instantly if necessary.
As you introduce the tokens to this external group, your team must establish clear communication channels so participants know exactly how to report problems. You should provide the pilot users with a direct support contact and brief instructions on how the new tokens differ from the old system. Keeping the communication transparent builds trust and encourages the users to provide the detailed, constructive feedback you need to refine the implementation. Running this limited rollout successfully proves that your infrastructure can handle the new technology and gives you the confidence to scale up the deployment.
What specific feedback you need to collect from users
To evaluate the token design fully during your trial, your team must capture a structured mix of objective system metrics and subjective human experiences. Relying solely on technical data might tell you that a scan failed, but it will not explain the human confusion that caused the failure. Gathering comprehensive feedback across multiple touchpoints aligns with the mission of RFID & NFC to provide practical and neutral educational resources for implementation leads. You can build a complete picture of your token’s performance by combining backend data logs with direct user insights.
Gathering quantitative scan data
During the technology pilot program, you must capture quantitative scan success rates through automated system logging rather than relying on manual reporting. Your backend systems should track the first-tap success rate, which measures the percentage of transactions that complete instantaneously without requiring the user to try again. You should also monitor system exception logs to capture the exact technical point of failure, such as timeout errors or handshake failures between the token and the reader. Tracking these hard metrics provides your project managers with undeniable proof of how quickly and reliably the hardware performs under real operational stress.
Conducting short user interviews
Collecting qualitative feedback through brief user interviews helps you uncover the mental model and expectations of the people handling the tokens. You should ask participants specific questions about how they knew the token was ready to be read and what they expected to happen immediately after tapping. These guided conversations reveal whether the system communicates success or failure clearly enough for a non-technical user to understand their next steps. Discovering these friction points allows your design team to adjust the visual feedback loop and eliminate the cognitive guesswork from the daily interaction.
Observing physical handling patterns
Direct observation of natural user handling patterns often highlights a stark contrast between how engineers intend the tokens to work and how humans actually behave. You will likely notice users prioritizing speed and cognitive ease, which might cause them to hold the token at incorrect angles or attempt to scan it from too far away. Watching these physical interactions helps you identify environmental factors, such as crowded lines or awkward reader placements, that disrupt a smooth scanning motion. Documenting these real-world handling habits ensures that your final token design accommodates natural human movement rather than forcing users into uncomfortable postures.
How to convert user feedback into final design changes
Analyzing the raw feedback you have collected is only valuable if you translate those insights into actionable modifications before ordering your final production run. Your project team must systematically categorize the reported issues to distinguish between isolated user errors and fundamental design flaws that require structural changes. Following a structured implementation process bridges the gap between testing and manufacturing, ensuring the final product integrates perfectly with your operational needs. This refinement phase guarantees that the budget you spend on mass production yields a highly polished and functional tool.
- Identify the recurring friction points: You need to cross-reference your automated system logs with the qualitative interview notes to find overlapping failure patterns. If your data shows a high volume of failed scans at a specific reader and users report feeling confused by that terminal, you have identified a priority design flaw. Your team should rank these recurring issues based on how severely they impact the core transaction speed and overall reliability. Tackling the most frequent and disruptive problems first ensures that your redesign efforts deliver the highest possible return on investment.
- Adjust the physical form factor: When your trial reveals ergonomic challenges, you must modify the shape, weight, or texture of the token casing to improve the physical handling. If users consistently drop a small key fob, you can increase the surface area or add a textured grip to give them better physical control. You might also need to adjust the internal placement of the antenna to prevent users from accidentally covering it with their thumbs during a scan. These targeted physical adjustments align the hardware with natural human anatomy and drastically reduce the number of user-induced errors.
- Refine the visual orientation cues: Based on the feedback regarding scanning confusion, you should update the surface graphics to provide clearer instructions on how to use the device. Adding a high-contrast target symbol or a directional arrow shows the user exactly which part of the token needs to touch the reader interface. You can also color-code different tokens if your system requires separate access levels, which helps staff visually identify the correct tool instantly. Strengthening these visual pathways eliminates hesitation and creates a fluid, intuitive experience that requires zero technical training.
Committing to your final token design for full production
Once you have implemented the necessary design changes and validated them through a final quick check, you can confidently sign off on the mass production order. Authorizing this large run feels secure because your careful testing process has systematically identified and resolved the usability risks that cause expensive post-launch failures. Your project team now possesses a refined token specification that integrates flawlessly with your readers and supports your daily operational workflows. This successful transition from prototyping to full deployment provides your organisation with a reliable and scalable technology solution that users will adopt without resistance.
How should I structure a quick pilot to validate a new token design?
Start with two quick phases: a short internal test, then a brief field pilot at one site. Define two or three core tasks, set success criteria, and time each step. Instrument the reader to log attempts and outcomes. Collect qualitative notes on orientation, grip, and environment.
Which prototype materials are safe for NFC or RFID during early tests?
Use non conductive materials for Near Field Communication (NFC) and Radio Frequency Identification (RFID) prototypes. PLA or ABS plastics, resins, acrylic, polycarbonate, wood, and cardboard work well. Avoid metal unless you use on metal tags with a ferrite layer. Keep a 1 to 2 millimeter air gap near parts.
How can I program tokens for functional trials without writing code?
You can program a basic Near Field Communication Data Exchange Format (NDEF) message in minutes with a smartphone app. NFC Tools or NXP TagWriter write a URI or Text record to common NTAG tags. Tap to verify, then check header flags for message begin, message end, and short record.
How do we measure scan reliability and perceived speed in small pilots?
Track first tap success rate and the time from tap to a clear success cue. Use system logs with timestamps to record attempts and classify errors, then review retries and dropouts. Aim for contactless air time under about half a second and a read window near 2 centimeters.
What ergonomic and visual issues should we look for during user tests?
Look for orientation, grip, and feedback problems that slow people down. Note where users place the token, which angle works, whether fingers cover the antenna, and if markings are readable. Confirm lights or sounds arrive quickly, and add clear visual orientation cues and concise error prompts.